Master Data Setup
Before processing any inbound or outbound transactions, you need to configure the foundational master data. Follow these steps in order — each step builds on the previous one.
Setup Checklist
- [ ] Create 3PL Clients (Customers)
- [ ] Create Warehouses and Zones
- [ ] Create Warehouse Locations (bins)
- [ ] Create Items with 3PL fields
- [ ] Create Client Items (SKU mappings)
- [ ] Create Inventory Policies
- [ ] Create Rate Cards
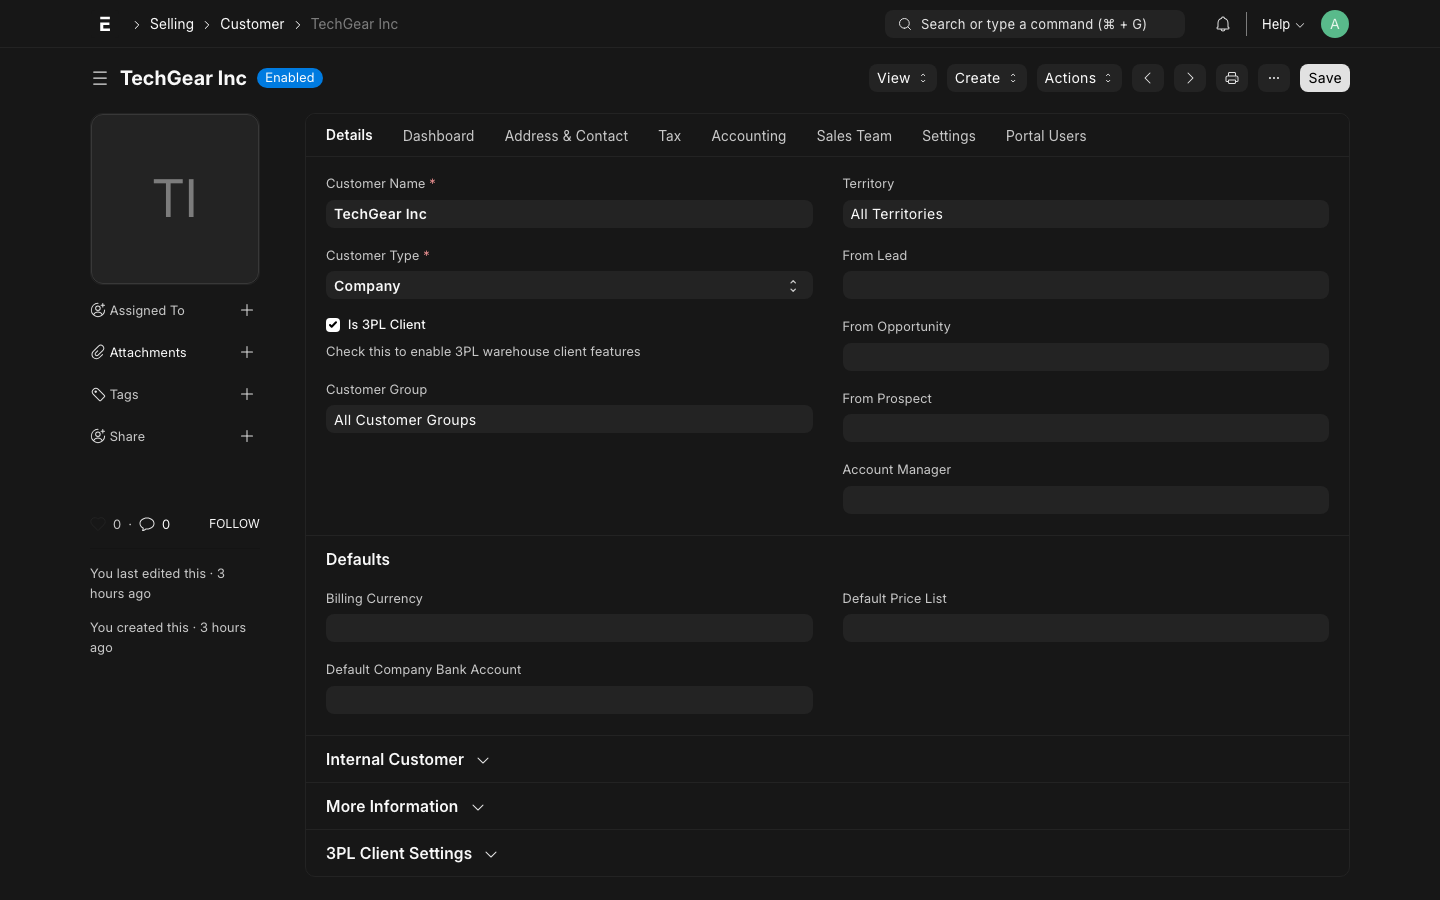
Step 1: Create a 3PL Client
A 3PL client is a standard ERPNext Customer with the is_3pl_client flag enabled. Every inventory transaction, billing event, and policy rule is scoped to a client.
How to Create
- Go to CRM → Customer → New
- Fill in the standard customer fields (Customer Name, Customer Group, Territory)
- Enable the Is 3PL Client checkbox
- Set a short Client Code (used in document numbering, e.g.,
TGEARfor TechGear Inc) - Leave Default Rate Card blank for now — you will link it after creating the rate card
Key Fields
| Field | Required | Notes |
|---|---|---|
| Customer Name | Yes | Full legal name of the client |
| Customer Group | Yes | Use "3PL Client" group for easy filtering |
| Is 3PL Client | Yes | Must be checked — enables 3PL features |
| Client Code | Yes | Short 4–6 char code, used in document IDs |
| Default Rate Card | No | Link after Rate Card is created |
WARNING
The Is 3PL Client checkbox must be enabled, or the customer will not appear in Client Order, ASN, and Billing Transaction selectors.
Test Data
The system ships with two test clients:
- TechGear Inc (
TGEAR) — ambient electronics - FreshFoods Co (
FRESH) — temperature-controlled food products
Step 2: Create Warehouses
Warehouses in ERPNext map to physical storage zones in your facility. For a 3PL, you typically create:
- One parent warehouse per facility (e.g.,
Main Warehouse - WH) - One child warehouse per zone (e.g.,
Zone A - WH,Cold Store - WH,Staging - WH)
Zone Types
| Zone Type | Use Case | Example |
|---|---|---|
| Ambient | Standard dry goods | Electronics, apparel |
| Cold | 2–8°C refrigerated | Fresh produce, pharma |
| Frozen | -18°C or below | Frozen foods |
| Hazmat | Regulated materials | Chemicals, batteries |
How to Create
- Go to Stock → Warehouse → New
- Set the Warehouse Name and Warehouse Type (Storage)
- Set Parent Warehouse to group zones under a facility
- In the 3PL section, set Zone Type and Location Type
- Check 3PL Managed to include this warehouse in inventory reports
TIP
Create a dedicated Staging warehouse for goods that have been received but not yet put away to bins. Putaway Tasks move stock from Staging to the final bin warehouse.
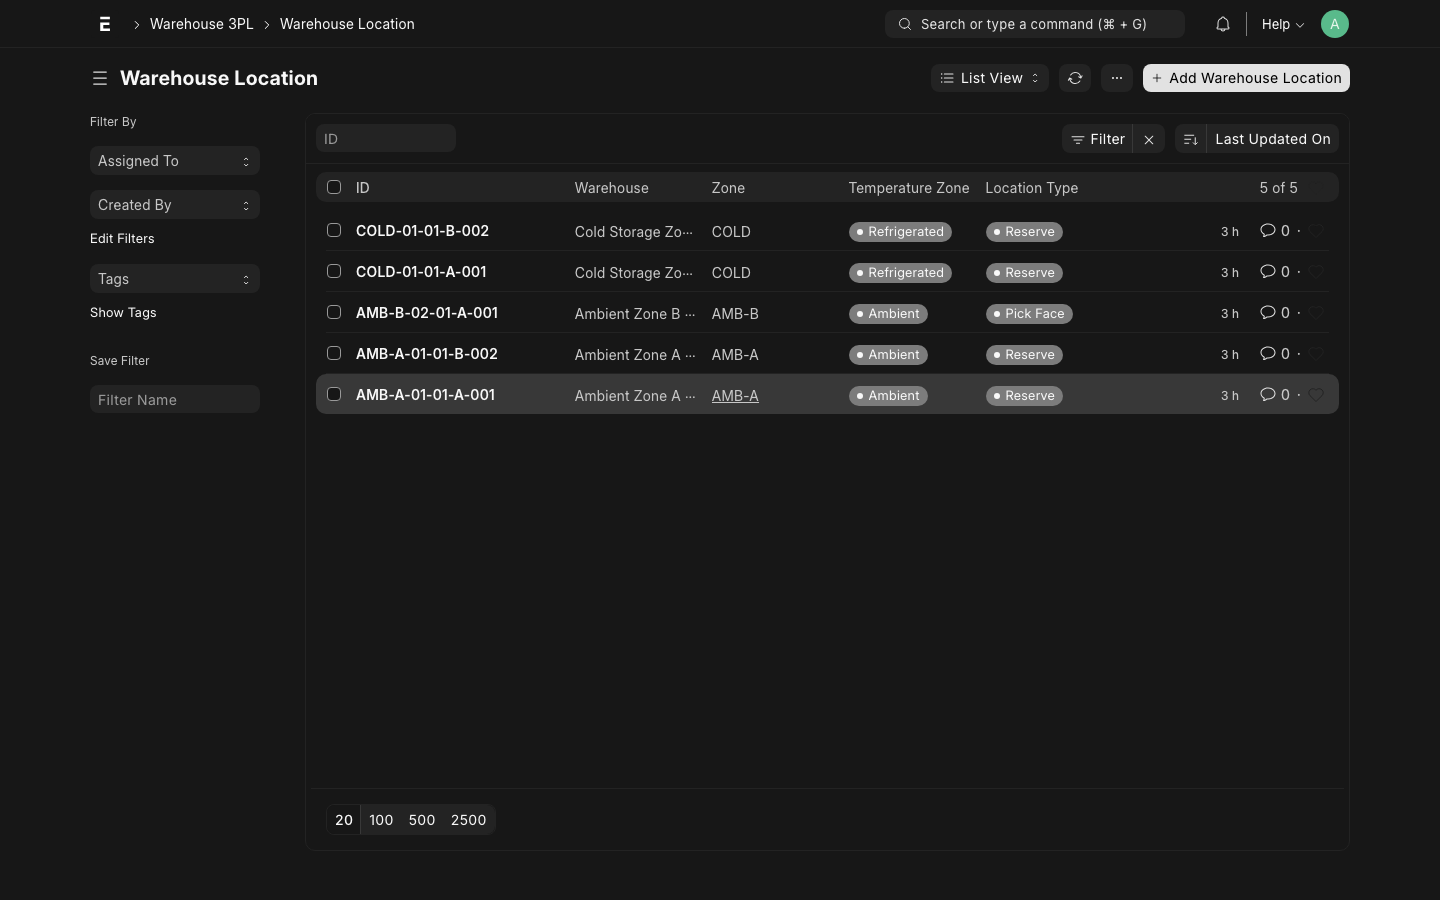
Step 3: Create Warehouse Locations
Warehouse Locations are the physical bin addresses — the finest-grained unit of storage. Each location belongs to a warehouse (zone) and has a structured address.
Location Hierarchy
How to Create
- Go to Warehouse 3PL → Warehouse Location → New
- Set Warehouse (the parent zone)
- Fill in the address fields: Aisle, Rack, Level, Bin
- The system auto-generates the Location Code (e.g.,
A-01-01-1-01) - Set Location Type: Rack, Bulk, Floor, or Staging
- Set Temperature Zone if this location has special conditions
- Set Max Weight and Max Volume for capacity planning (optional)
TIP
For bulk floor locations, leave Rack/Level/Bin blank and set Location Type to "Floor". These are used for pallet storage.
Batch Create Locations
For large warehouses, use the Bulk Create Locations tool under Warehouse 3PL → Tools. Specify the aisle/rack/level/bin ranges and it creates all locations in one shot.
Step 4: Create Items
Items in ERPNext represent the SKUs that clients store in your warehouse. Each item has 3PL-specific fields in addition to the standard ERPNext item fields.
How to Create
- Go to Stock → Item → New
- Fill in Item Name, Item Code, Item Group
- Set Is Stock Item = Yes
- In the 3PL Details section, configure:
| Field | Description | Example |
|---|---|---|
| Temperature Zone | Storage requirement | Ambient / Cold / Frozen |
| Velocity Class | A = fast, B = medium, C = slow moving | A |
| Lot Tracked | Enable batch/lot tracking | Yes (for food, pharma) |
| Client Item ID | Primary client's SKU code | (set via Client Item) |
- If lot-tracked, set Has Batch No = Yes and configure Batch Naming
INFO
Items in a 3PL context represent a generic product definition. The same physical product may be handled for multiple clients — use Client Items (Step 5) to map client-specific SKUs to this shared item.
Step 5: Create Client Items
A Client Item maps a client's SKU to your internal ERPNext item. This handles cases where the same product is called different things by different clients, or where a client uses their own barcode/part number.
How to Create
- Go to Warehouse 3PL → Client Item → New
- Set Client (the 3PL customer)
- Set Client SKU (client's own part number or barcode)
- Set Item (the internal ERPNext item to map to)
- Optionally add Client Item Description for reference
TIP
Client Items allow you to receive ASNs using client SKU codes and automatically resolve them to your internal item codes. This is essential for EDI integrations.
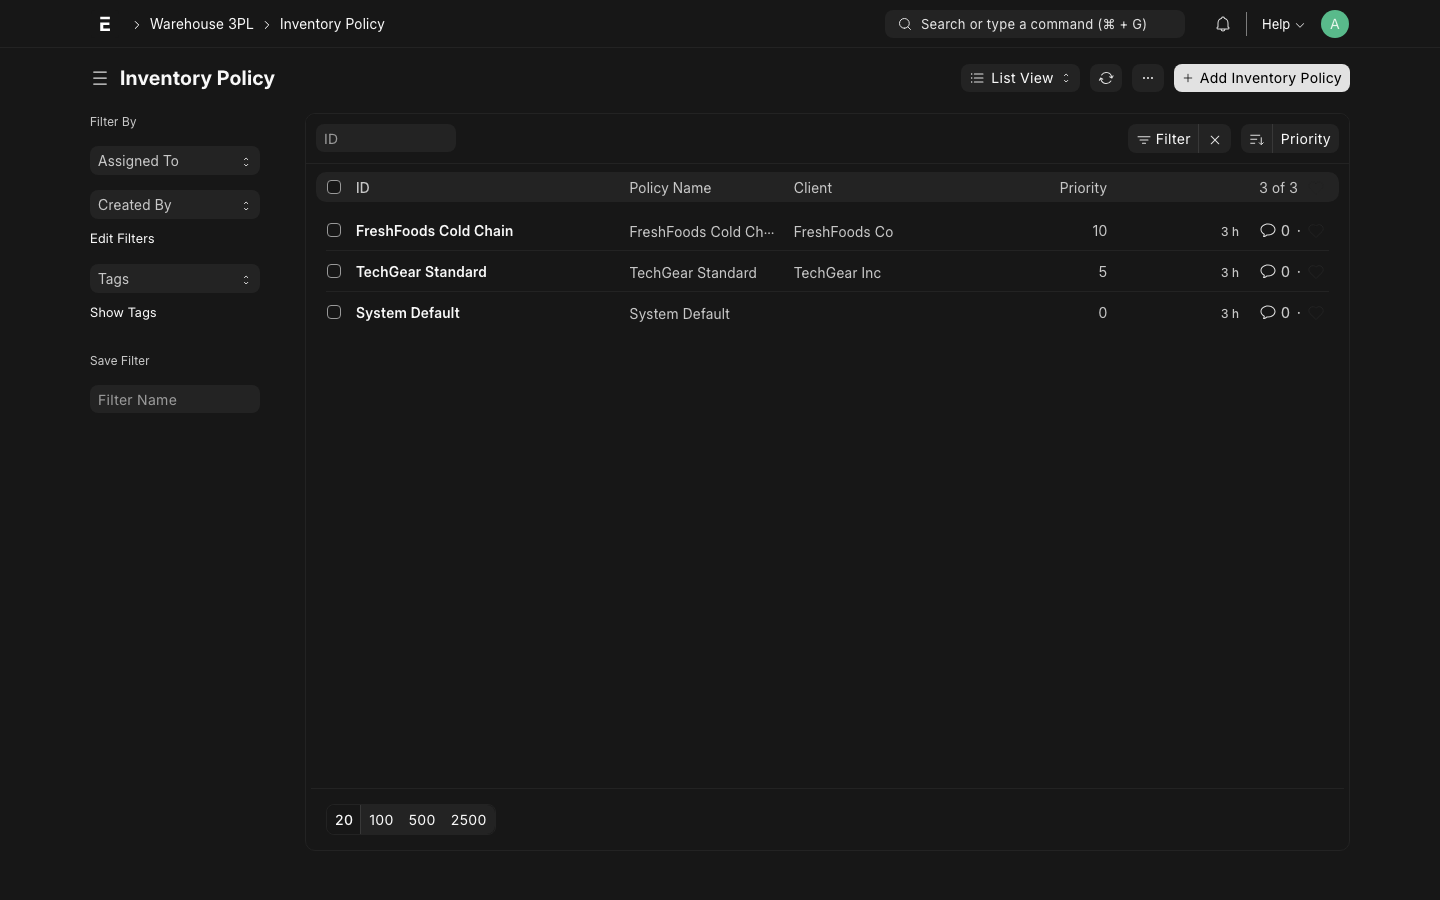
Step 6: Create Inventory Policy
An Inventory Policy defines the rules that govern how the system handles stock for a given client, zone, or item group. Policies control:
- Picking method: FIFO, FEFO, LIFO, or manual
- Putaway rules: preferred zones, weight limits
- QC requirements: whether inspection is required on receipt
- Lot control: enforce lot tracking or allow non-lot picks
Resolution Priority
Policies resolve from most specific to least specific:
- Client + Item Group + Zone
- Client + Item Group
- Client + Zone
- Client (all items)
- System default (no client set)
How to Create
- Go to Warehouse 3PL → Inventory Policy → New
- Set Client (leave blank for system default)
- Optionally set Item Group and/or Warehouse Zone to narrow scope
- Configure the policy fields (see Policy Engine reference)
- Save and submit
TIP
Leave the Client field blank to create a system-wide default policy. All specific policies override the default for matched dimensions.
WARNING
At least one Inventory Policy must exist (the system default) before submitting Receivings or Client Orders. Without a policy, allocation and putaway will fail.
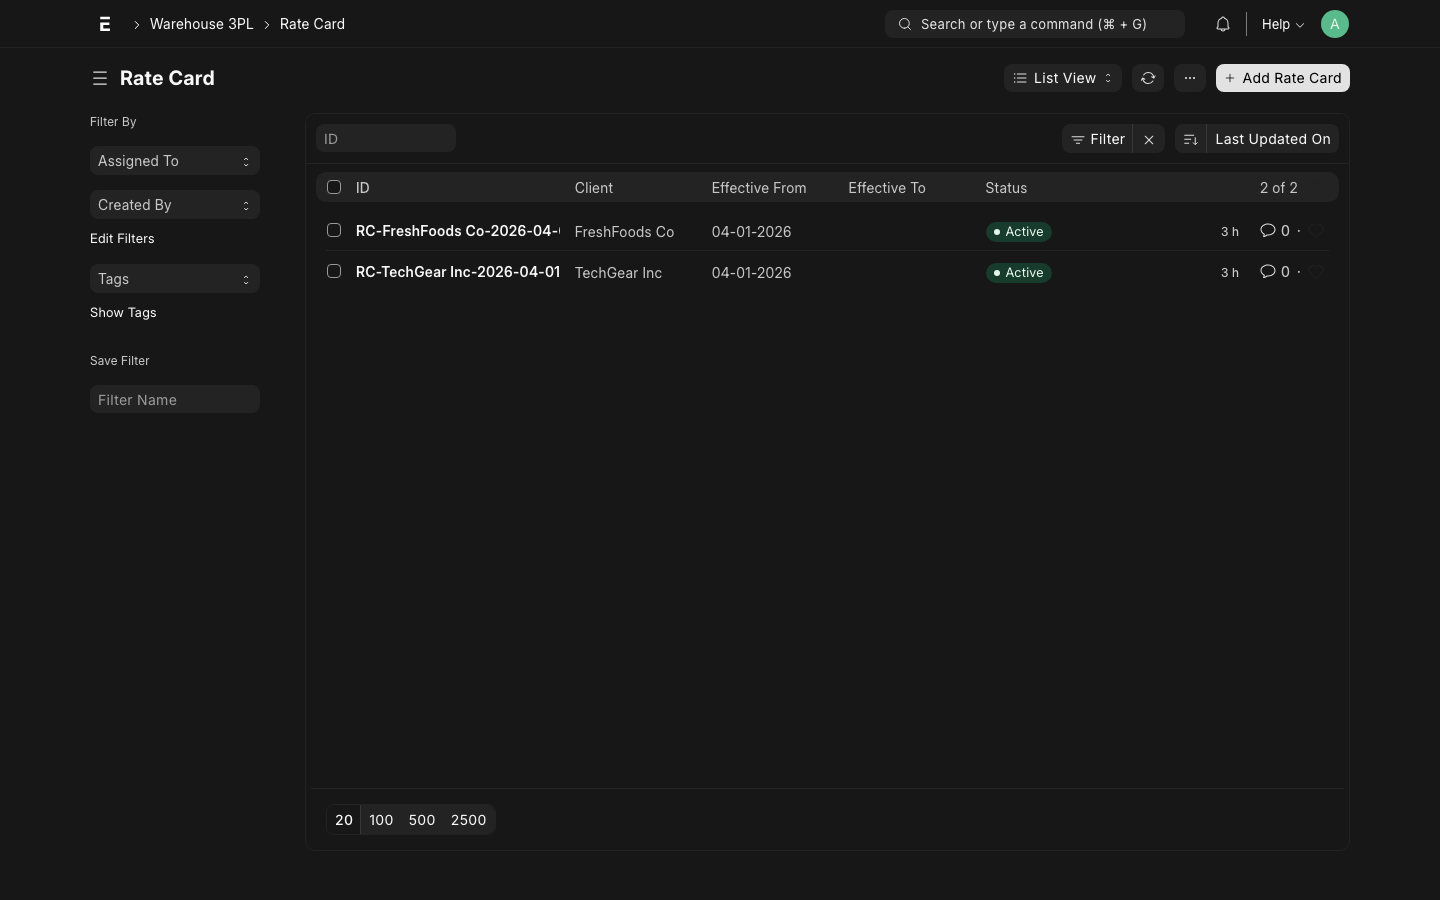
Step 7: Create Rate Card
A Rate Card defines the service rates charged to a specific client. Every activity that the warehouse performs is logged as a Billing Transaction, which looks up the rate from the client's Rate Card.
Activity Types
| Activity | Description | Typical Unit |
|---|---|---|
| Receiving | Unloading and checking inbound goods | Per unit |
| Putaway | Moving goods to storage bins | Per unit |
| Pick | Picking units for an order | Per unit |
| Pack | Packing picked goods | Per order line |
| Ship | Generating Delivery Note + handoff | Per shipment |
| Storage | Monthly storage fee | Per pallet/day |
| Returns | Processing inbound returns | Per unit |
How to Create
- Go to Warehouse 3PL → Rate Card → New
- Set Client (the 3PL customer this rate card applies to)
- Set Effective From date
- Add rows in the Rate Items table — one row per activity type:
- Activity Type: select from dropdown
- Rate: charge amount
- UOM: unit of measure (Each, Kg, Pallet, etc.)
- Save and submit the Rate Card
- Go back to the Customer record and link this Rate Card as Default Rate Card
INFO
If a client has no Rate Card, or if an activity type is not found in the Rate Card, the Billing Transaction will be created with a zero rate and flagged for manual review.
Example Rate Card — TechGear Inc
| Activity | Rate | UOM |
|---|---|---|
| Receiving | $0.50 | Each |
| Putaway | $0.25 | Each |
| Pick | $0.35 | Each |
| Pack | $1.50 | Order Line |
| Ship | $5.00 | Shipment |
| Storage | $15.00 | Pallet/Month |