Outbound Workflow: Order → Wave → Pick → Pack → Ship
The outbound workflow manages the fulfillment of client orders — from the moment a client submits an order through picking, packing, and shipping. The process is designed for multi-order batch efficiency using Wave picking.
Warehouse Job Record
All outbound documents (Client Order, Wave, Pick Task, Pack Task, Delivery Note) can be linked to a Warehouse Job Record. Create a Client Order from the Job Record using Create → Create Client Order to auto-link everything.
Flow Diagram
Step 1: Create a Client Order
A Client Order is the 3PL's equivalent of a sales order — it represents a client's request to ship specific items to a specific destination.
How to Create
- Go to Warehouse 3PL → Client Order → New
- Set Client (the 3PL customer fulfilling the order)
- Set Order Date and Required Delivery Date
- Set Ship To address (or select from client's address book)
- Set Carrier and Service Level (Standard / Express / Overnight)
- Add items in the Order Items table:
- Item (or Client SKU)
- Ordered Qty
- UOM
- Lot / Batch (if client specifies a specific batch)
- Save the Client Order
Key Fields
| Field | Required | Description |
|---|---|---|
| Client | Yes | Which 3PL client owns this order |
| Order Date | Yes | When the order was received |
| Required Delivery Date | Yes | Latest ship date |
| Ship To | Yes | Destination address |
| Carrier | No | Shipping carrier (FedEx, UPS, etc.) |
| Service Level | No | Shipping speed |
| Client Reference | No | Client's own order ID / PO number |
| Priority | No | Normal / Rush / Critical |
| Items | Yes | Line items with qty |
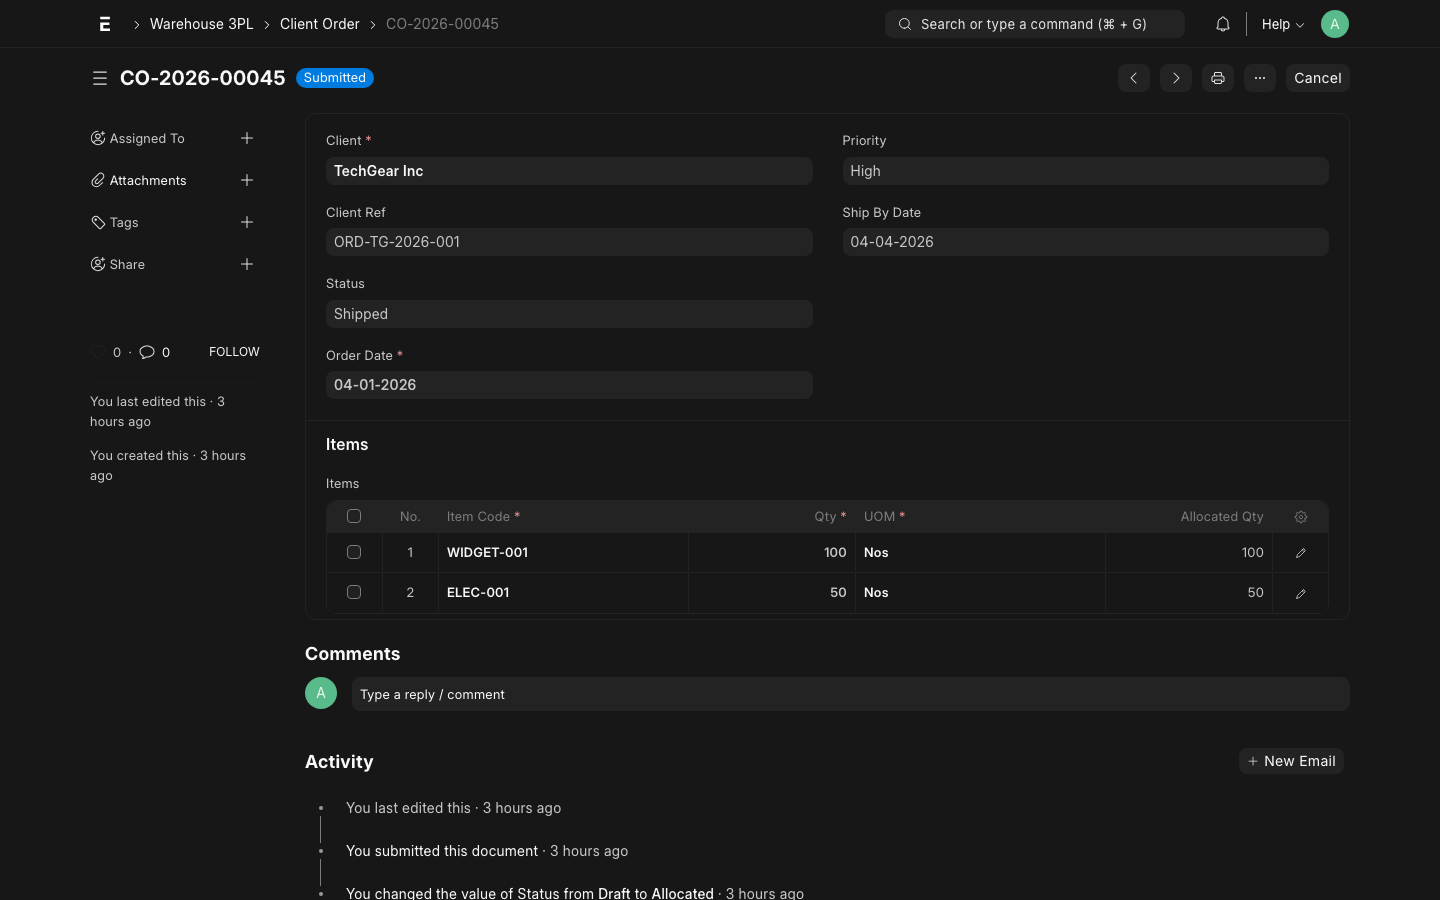
On Submit: Inventory Allocation
When the Client Order is submitted, the system automatically allocates inventory:
- The Inventory Policy is resolved for the client (see Policy Engine)
- Available stock is selected using the configured method (FIFO, FEFO, etc.)
- Specific batches and bin locations are reserved against this order
- Order status changes to Allocated
WARNING
If there is insufficient stock to fulfill the order, submission will fail with an "Insufficient Stock" error. You can submit a partial order by reducing the quantity, or wait for inbound stock to arrive.
Order Status Lifecycle
| Status | Meaning | Trigger |
|---|---|---|
| Draft | Order received, not yet confirmed | Save |
| Confirmed | Under review, not yet allocated | Manual |
| Allocated | Stock reserved for this order | Submit |
| Picking | Pick Tasks created and in progress | Wave Release |
| Packing | All picks done, Pack Task created | Pick complete |
| Shipped | Delivery Note created | Pack complete |
| Closed | Billing done, order complete | Manual / Auto |
| Cancelled | Order cancelled, allocation released | Cancel |
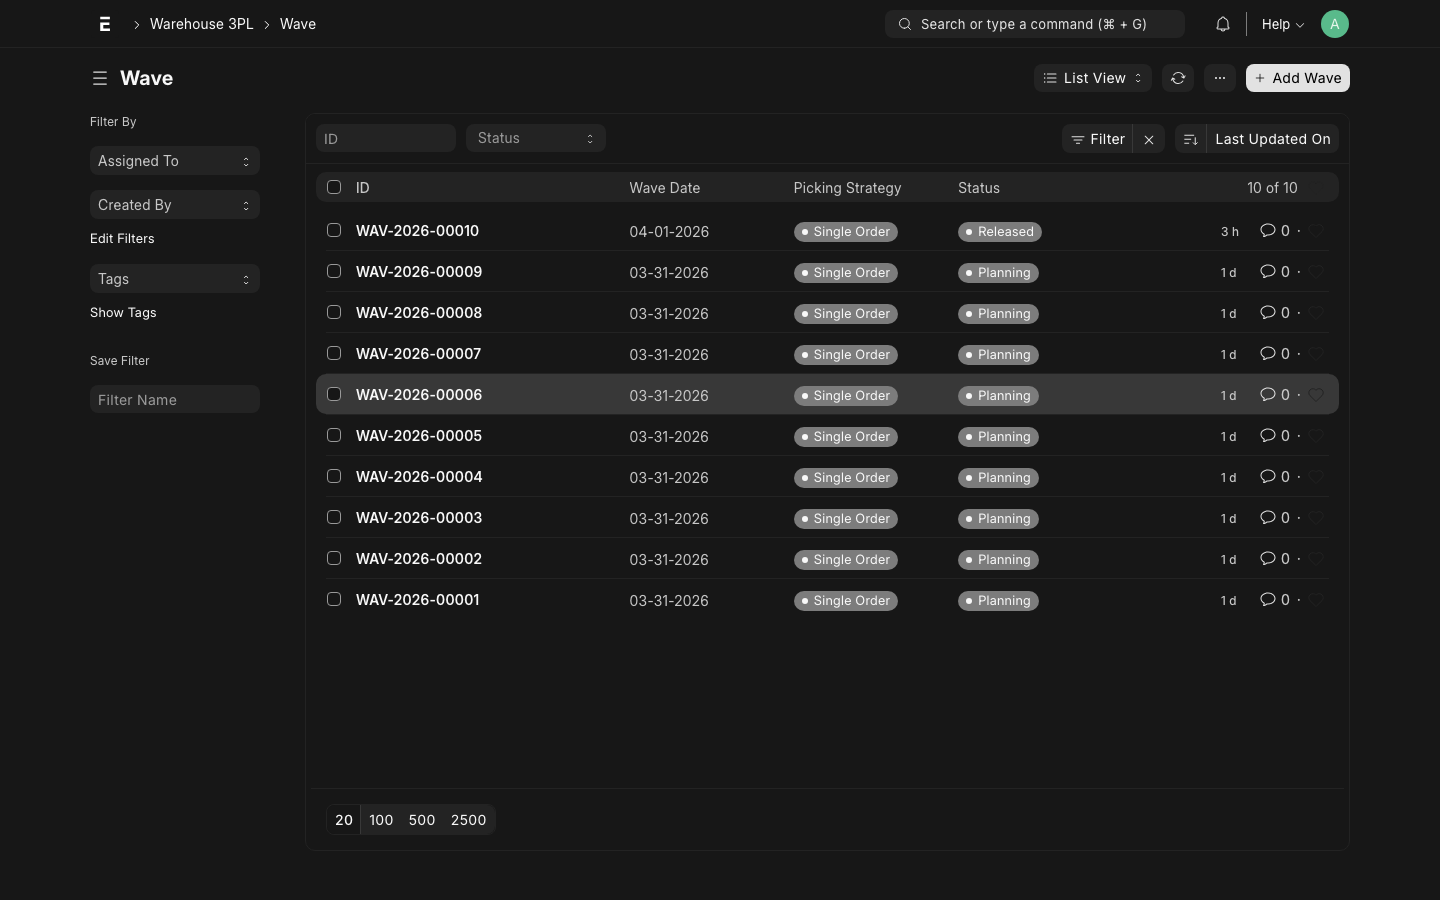
Step 2: Create a Wave
A Wave groups multiple Client Orders together for efficient batch picking. Instead of picking one order at a time (which wastes travel time), a wave lets one picker collect items for many orders in a single sweep of the warehouse.
How to Create
- Go to Warehouse 3PL → Wave → New
- Set Wave Date and Shift (Morning / Afternoon / Evening)
- Use the Add Orders button to select Allocated Client Orders
- Review the wave summary — total lines, total units, total orders
- Save the Wave
TIP
Group orders by zone (all Zone A orders in one wave) or by carrier cutoff (all FedEx 3pm orders together). This minimizes picker travel and ensures orders ship on time.
Wave Strategies
| Strategy | Best For |
|---|---|
| Zone-based | Large warehouses — reduce picker travel |
| Carrier cutoff | Ensure same-day ship by carrier cutoff time |
| Client-based | Dedicated clients with SLA agreements |
| Single order | Rush/priority orders that can't wait for batch |
Step 3: Release Wave
Releasing the Wave generates Pick Tasks and starts the picking process.
- Open the Wave
- Click Release Wave
- The system creates one Pick Task per order-line per bin location
- If an order line spans multiple bins (due to allocation), separate Pick Tasks are created per bin
- Wave status changes to Picking In Progress
- Pick Tasks are now visible to operators
INFO
The Release action is irreversible. Once released, the wave's order list is locked. To add more orders, create a new wave.
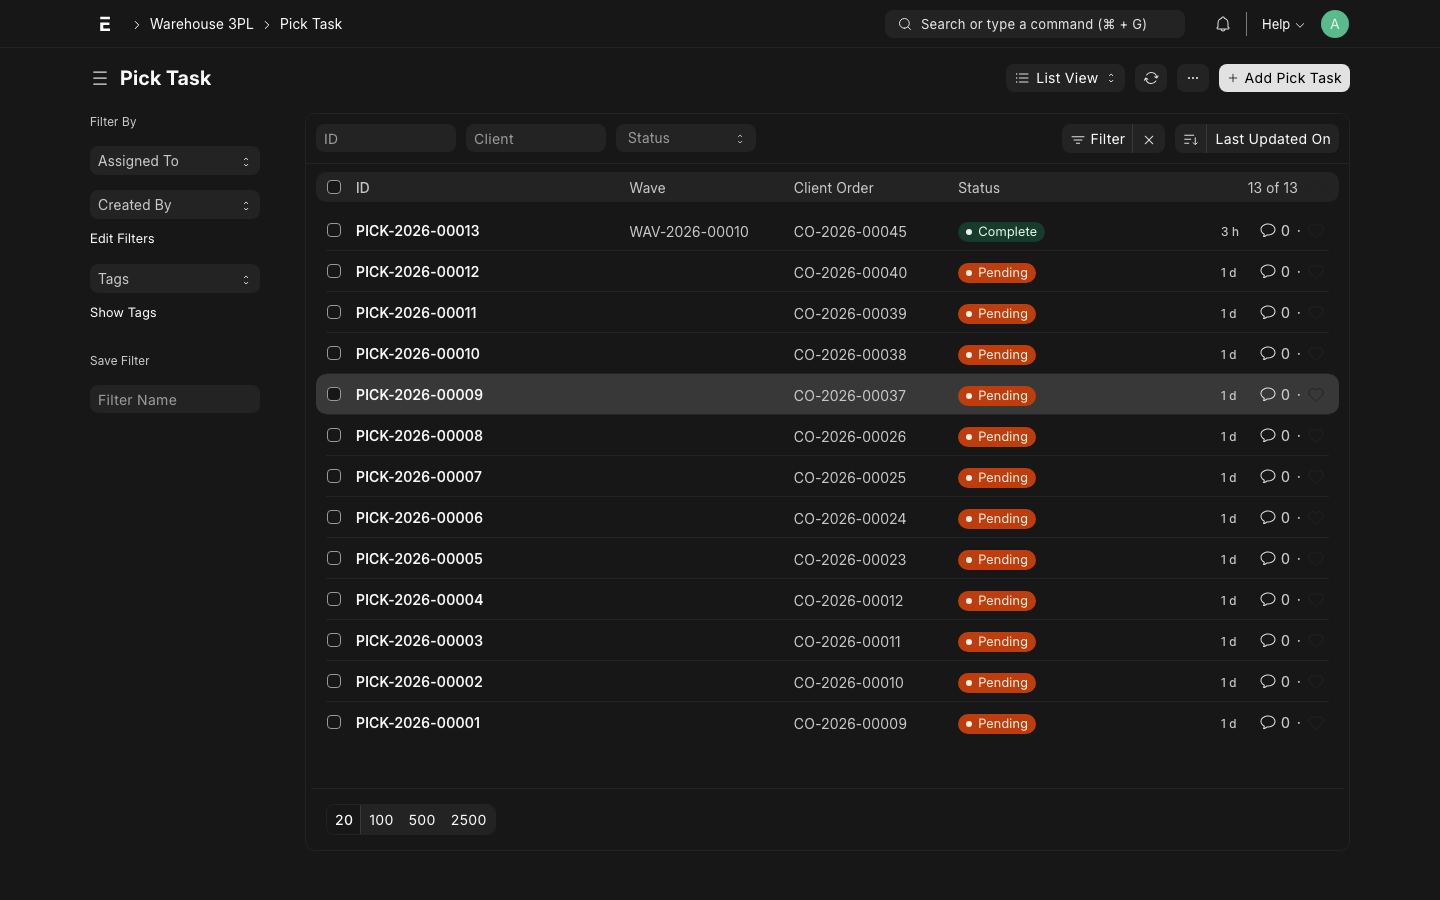
Step 4: Complete Pick Tasks
Pick Tasks are the instructions operators use to physically collect items from bins. Each task specifies exactly where to go and how much to pick.
Operator Workflow
- Go to Warehouse 3PL → Pick Task (or use mobile scanner)
- Filter by Status = "Open" and sort by Location (for efficient travel)
- Open a Pick Task and review:
- Bin address (Zone / Aisle / Rack / Level / Bin)
- Item and quantity to pick
- Batch / lot to pick from (if specified)
- Physically pick the items from the bin
- Confirm the picked quantity (may be less if bin is short)
- If using a scanner, scan the bin barcode to confirm location
- Click Mark Complete
Short Picks
If a bin has fewer items than expected:
- Enter the actual Picked Qty (less than requested)
- The system flags the order line as short-picked
- The system checks other bins for the remaining quantity
- A new Pick Task is created for the remaining quantity if stock exists elsewhere
- If no more stock, the order is partially fulfillable — escalate to client
When All Picks Are Done
Once all Pick Tasks for an order are completed:
- The Client Order status changes to Packing
- A Pack Task is automatically created for the order
Step 5: Complete Pack Task
A Pack Task instructs the packer to verify, consolidate, and package the picked goods for shipment.
Packer Workflow
- Go to Warehouse 3PL → Pack Task (or use workstation screen)
- Open the Pack Task for the order
- Verify all picked items are present (match to pick list)
- Pack into boxes/cartons — record:
- Number of Packages
- Package Weight (each)
- Package Dimensions (for carrier rate shopping)
- Tracking Numbers (entered after label generation)
- Click Complete Pack Task

What Happens on Complete Pack
Completing a Pack Task triggers:
- Delivery Note is created in ERPNext:
- Items move from bin warehouses to Dispatch warehouse
- Delivery Note is in Submitted state
- Client Order is linked
- Billing Transactions are created:
- Pick: Qty × Pick Rate (from Rate Card)
- Pack: Order Lines × Pack Rate
- Ship: 1 × Shipping Rate per shipment
- Client Order status → Shipped
TIP
If you generate shipping labels from a carrier API (FedEx, UPS, ShipStation), the tracking numbers can be automatically populated into the Pack Task and passed to the Delivery Note.
Delivery Note
The created Delivery Note is a standard ERPNext document. From it you can:
- Print a packing slip
- Email the dispatch confirmation to the client
- View the stock ledger entries for the shipment
- Trigger downstream accounting if needed
See the Delivery Note list for reference.
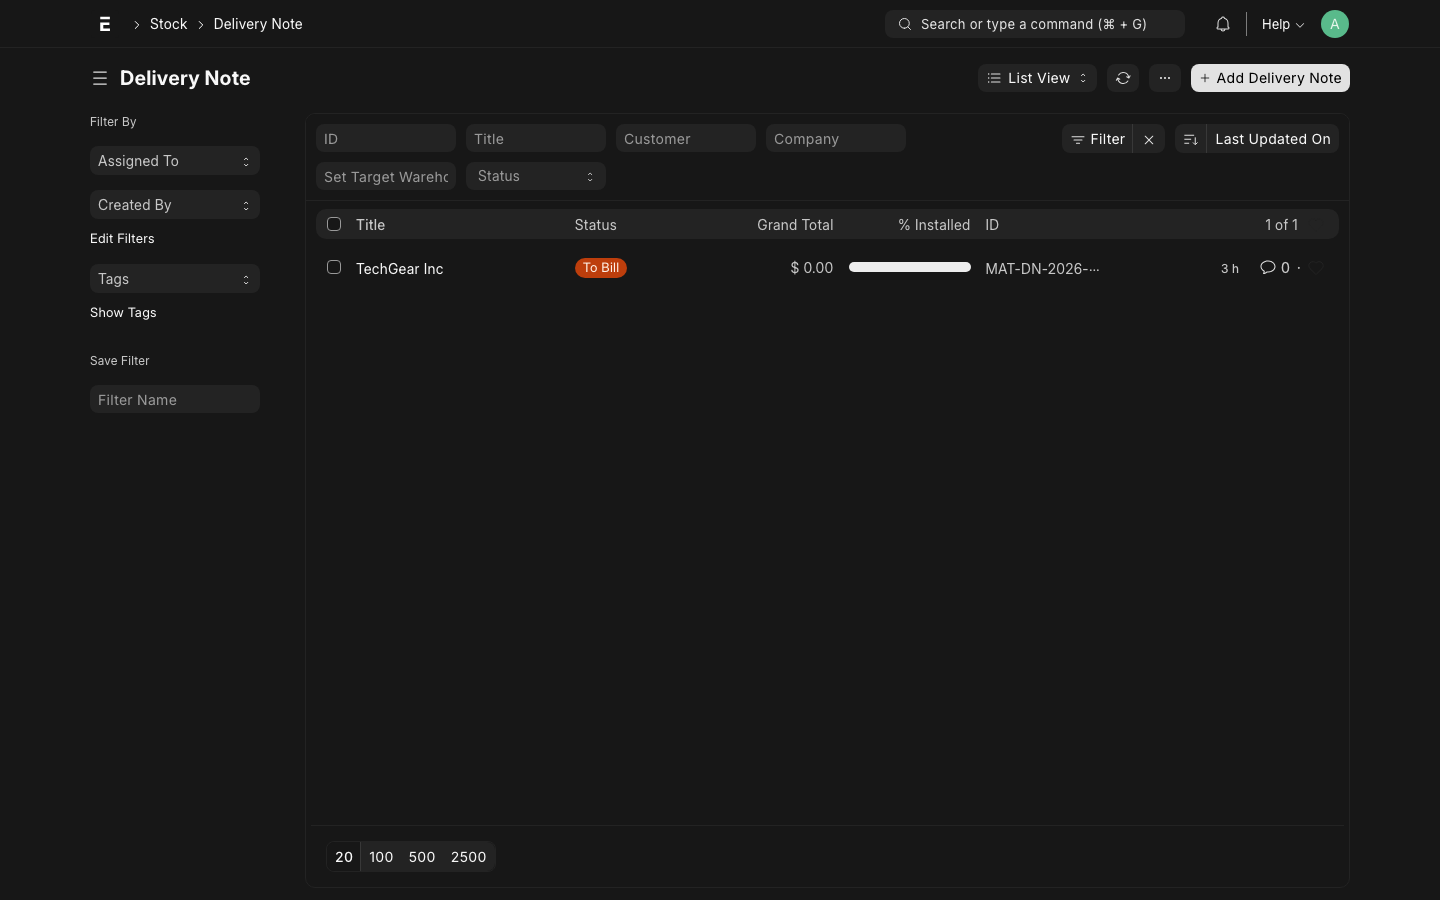