Client Orders
What is a Client Order?
A Client Order is a request from a client to ship goods to their customer. When the client says "send 50 units of Product X to Address Y," you create a client order.
This is the starting point for the outbound process. Once you create and submit a client order, the system handles allocation, picking, packing, and shipping.
When Do You Create a Client Order?
When a client tells you to ship goods. This usually happens through:
- An email or phone call from the client
- The client entering it through their portal
- An automated feed from the client's system
Creating from a Warehouse Job Record
If this order is part of a Warehouse Job Record:
- Open the Job Record
- Click Create → Create Client Order in the top toolbar
- The system auto-fills the Client and Warehouse Job fields
- Add items, shipping address, and submit
This links the order to the job, so billing and stock show up in the Job's P&L dashboard.
How to Create a Client Order
Step 1: Open the Client Order list
Type Client Order in the search bar and click on Client Order List.
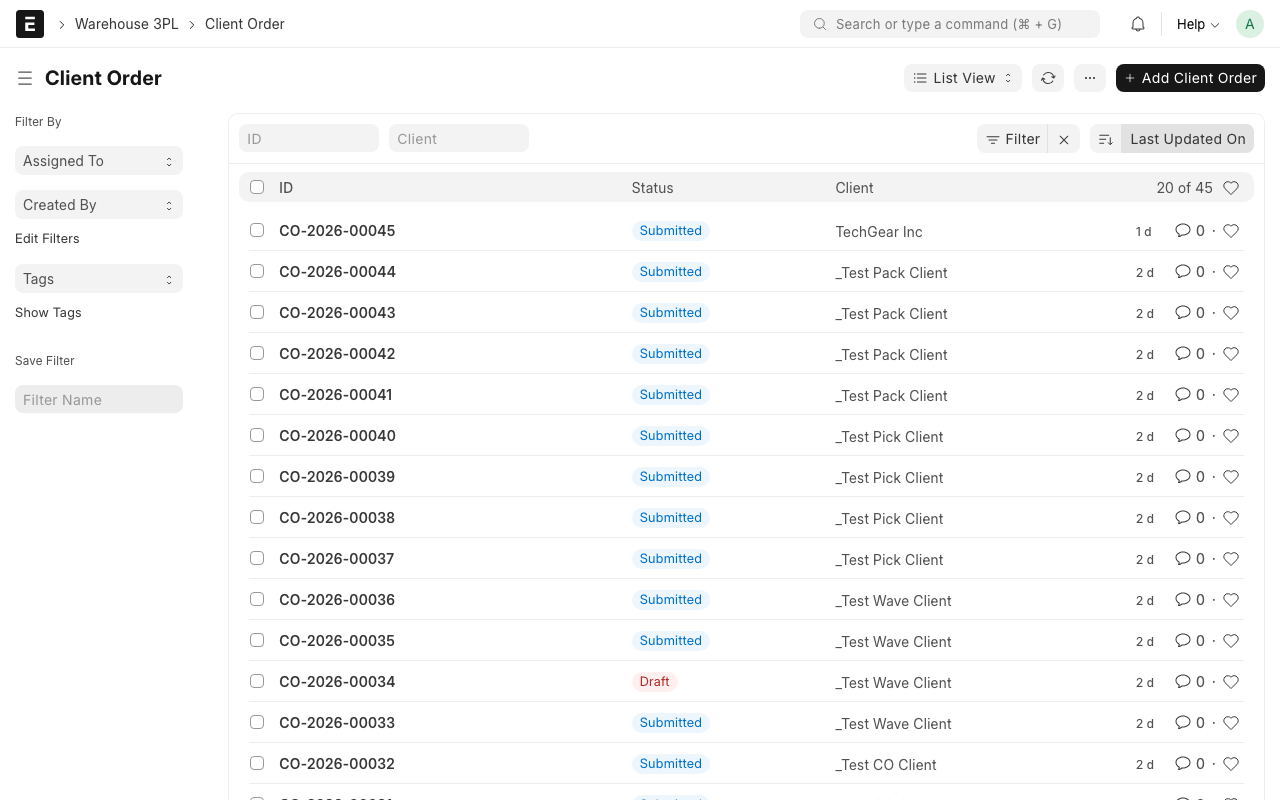
Step 2: Click "Add Client Order"
Click the + Add Client Order button.
Step 3: Fill in the header fields
- Client -- Select the client. Example: "FreshFoods Inc."
- Client Reference -- The client's own order number or PO number. Example: "PO-2026-1234". This helps the client track the order on their side.
- Priority -- How urgent is this order?
- Low -- Ship when convenient
- Medium -- Normal priority (default)
- High -- Ship as soon as possible
- Urgent -- Drop everything and ship now
- Ship By Date -- The deadline for this order to leave the warehouse. Example: "2026-04-07"
- Shipping Address -- Where the goods should be sent. Enter the full delivery address.
- Carrier -- (Optional) Which shipping carrier to use. If the client has a preferred carrier, select it here.
Step 4: Add items
In the items table, click Add Row for each product to ship:
- Item -- Select the item. Example: "Organic Almond Milk 1L"
- Qty -- How many to ship. Example: "150"
- Client SKU -- (Optional) The client's product code. If Client Items are set up, this fills in automatically.
Repeat for each item in the order.
Step 5: Save and Submit
- Click Save (Ctrl+S) to save the draft
- Review all details -- correct client, correct items, correct quantities
- Click Submit to confirm the order
What Happens on Submit?
When you submit a client order, the system checks if the requested items are available in stock:
What happens behind the scenes
Stock Allocation
The system looks at current stock levels and tries to reserve (allocate) the items for this order. For each item line, it sets the Allocated Qty -- how many units have been reserved from available stock.
- If Allocated Qty = Ordered Qty -- full stock is available
- If Allocated Qty < Ordered Qty -- not enough stock for this item
The order status depends on the allocation result:
| Status | What It Means |
|---|---|
| Allocated | All items are fully available. Ready to be picked. |
| Confirmed | Order is accepted but some items are short on stock. |
| Partially Allocated | Some items are allocated, some are not. |
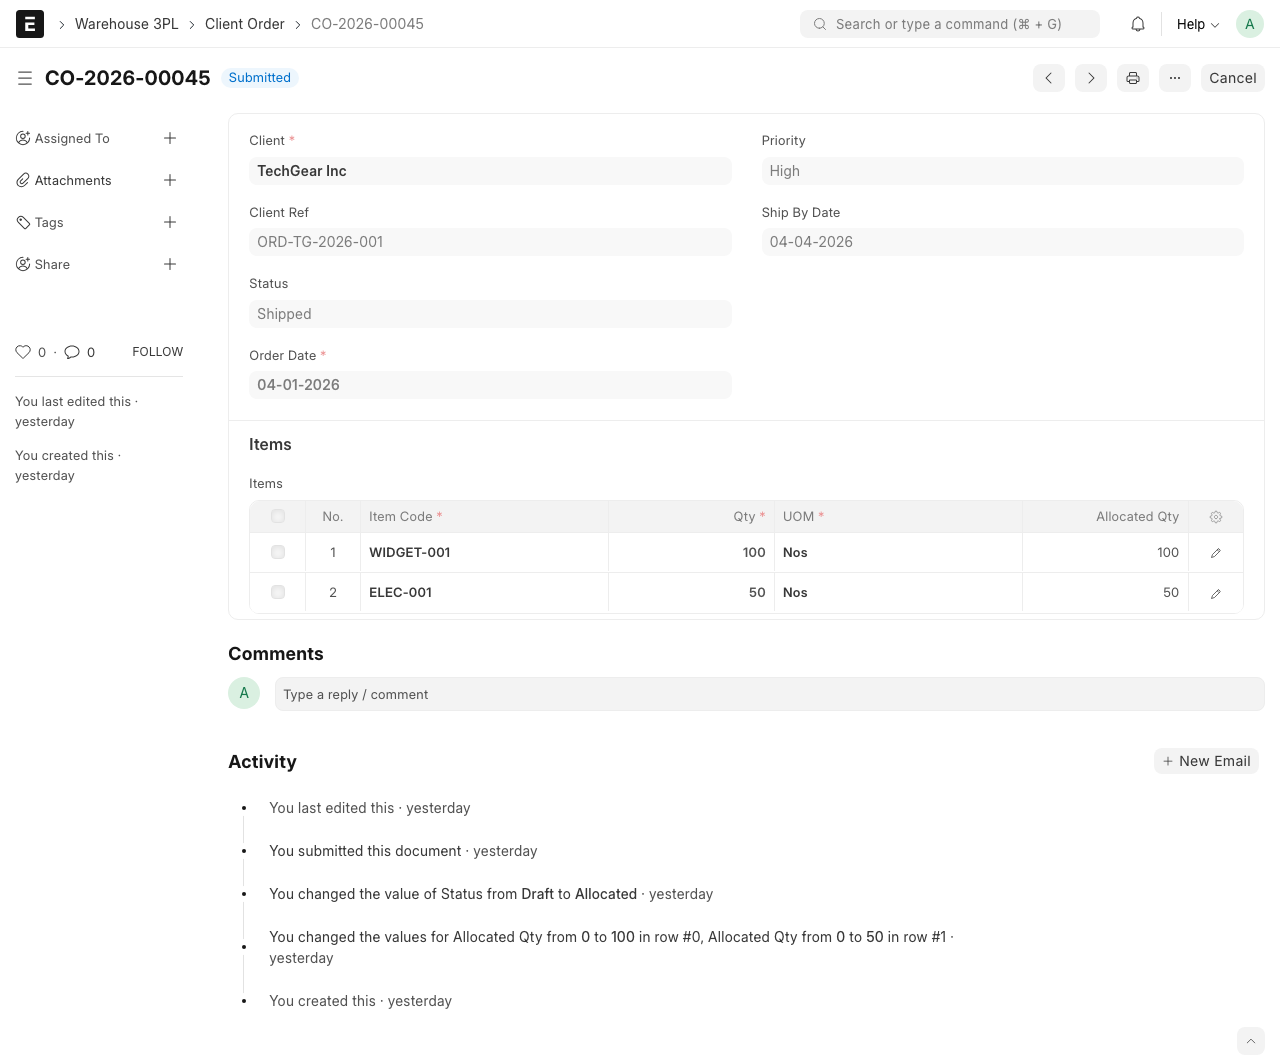
Understanding Allocation
Look at the items table after submitting. You will see an Allocated Qty column:
| Item | Ordered Qty | Allocated Qty | Status |
|---|---|---|---|
| Almond Milk 1L | 150 | 150 | Fully allocated |
| Oat Milk 1L | 100 | 60 | Short 40 units |
If an item is short:
- The order can still be processed for the allocated quantity
- Or you can wait for more stock to arrive (via a new ASN)
Client Order Statuses
| Status | What It Means |
|---|---|
| Draft | Order is being created, not yet confirmed |
| Confirmed | Order is submitted, stock check in progress |
| Allocated | All stock is reserved and ready |
| Partially Allocated | Some items reserved, some short |
| In Wave | Order has been added to a Wave for picking |
| Picked | All items have been picked from bins |
| Packed | All items have been packed |
| Shipped | Order has left the warehouse |
| Cancelled | Order was cancelled |
Common Situations
Client wants to change an order
If the order is still in Draft:
- Edit the items or quantities directly and save
If the order is already Submitted:
- Click Amend to create a revised version
- Make changes and submit again
Not enough stock
If the order shows "Partially Allocated":
- Check if more stock is coming (look for pending ASNs)
- Decide with the client: ship what is available now, or wait for full stock
- If shipping partial, proceed to Wave with available items
Urgent order
Set the Priority to "Urgent" and the Ship By Date to today. When creating a Wave, prioritize this order.
TIP
You can see all orders for a client by filtering the Client Order list by client name. This is useful when a client calls to ask about their order status.
WARNING
Once an order is submitted, the allocated stock is reserved. Other orders cannot use that stock. If you need to cancel an order, do it promptly to release the stock for other orders.
What Happens Next?
After creating a client order:
- Add the order to a Wave to group it with other orders for efficient picking
- Or, if it is urgent, create a wave with just this order
- Release the wave to create Pick Tasks