Client Setup
What is a 3PL Client?
A 3PL Client is a company whose goods you store and ship from your warehouse. Each client has their own products, pricing, and rules.
For example, "FreshFoods Inc." might be a client who stores refrigerated products in your warehouse. You receive their goods, store them, and ship orders to their customers.
Why set up a Client?
Before you can receive goods, create orders, or charge for services, you need a client record in the system. The client record connects everything together -- items, orders, billing, and policies.
How to Create a New Client
Step 1: Open the Customer list
Go to the search bar at the top of the screen. Type Customer and click on Customer List.
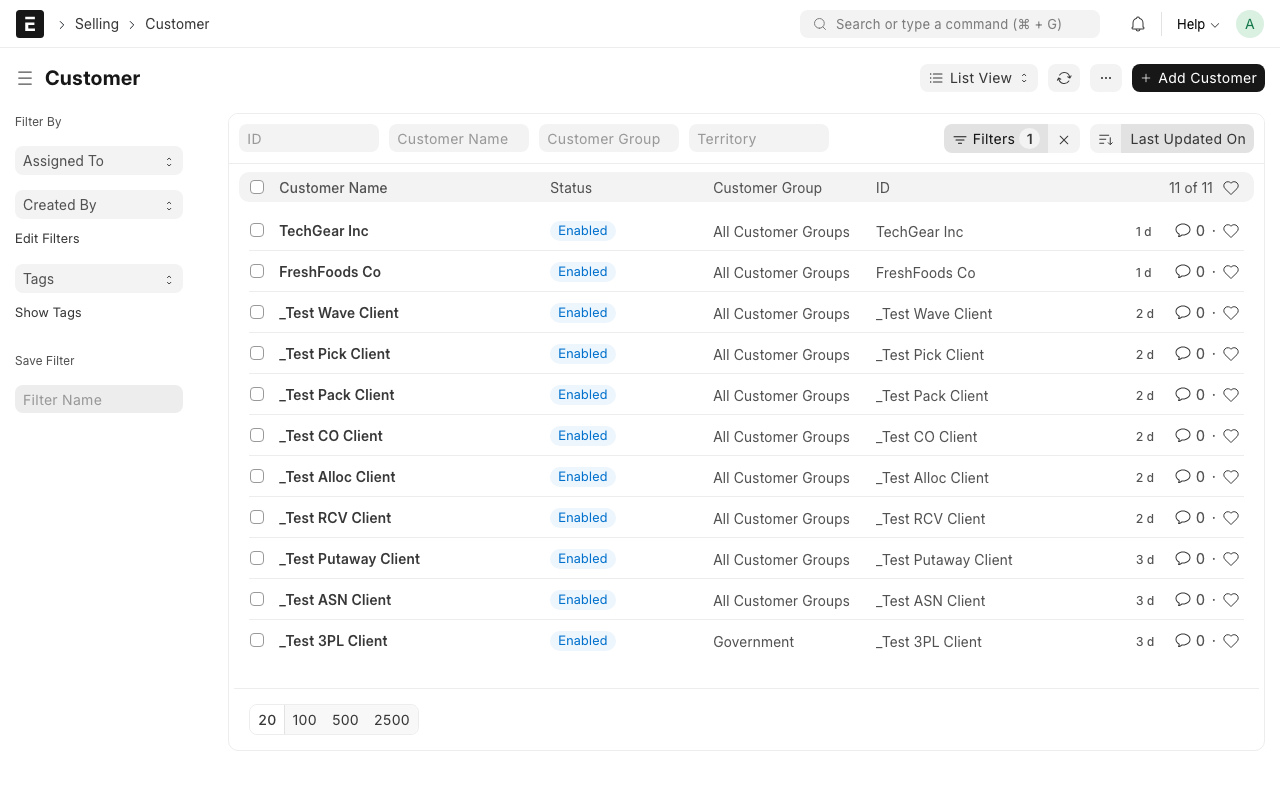
Step 2: Click "Add Customer"
Click the + Add Customer button in the top-right corner of the list.
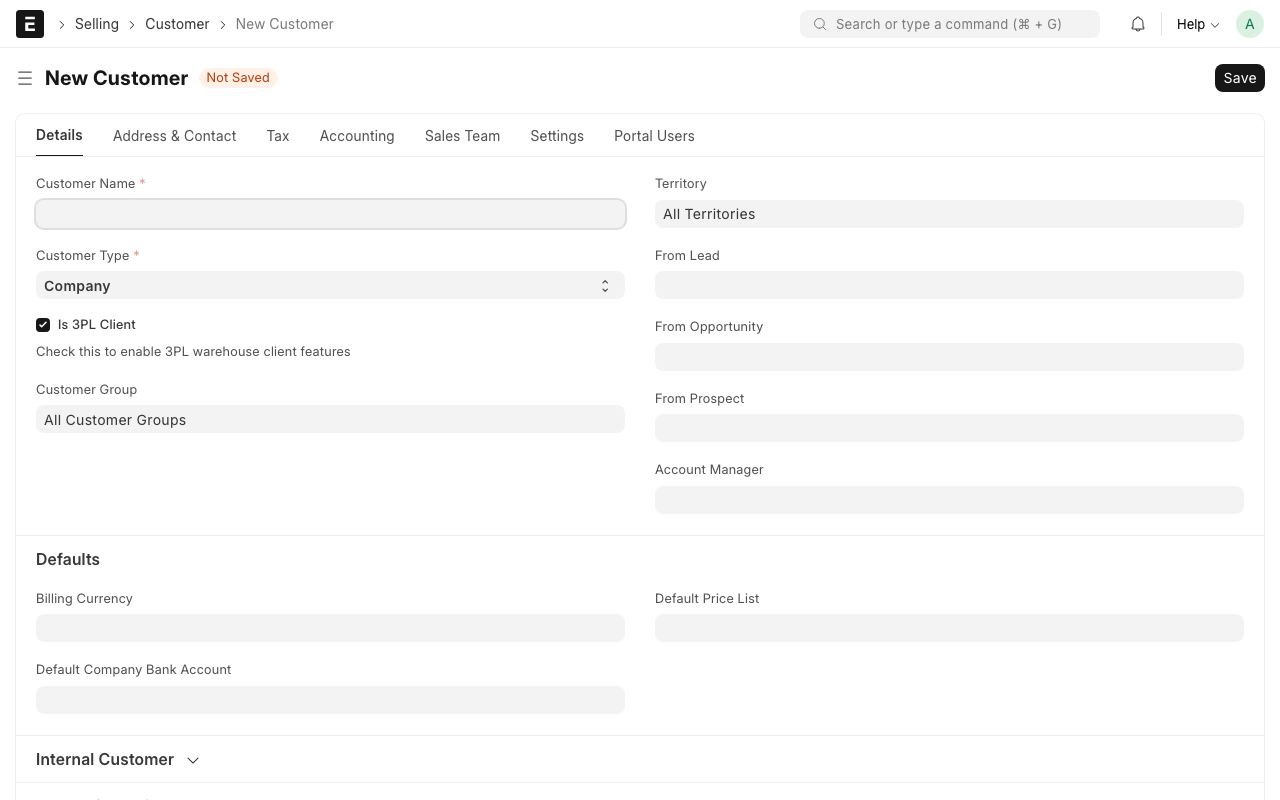
Step 3: Fill in the basic details
Fill in the following fields:
- Customer Name -- The full name of the client company. Example: "FreshFoods Inc."
- Customer Type -- Select "Company" (most 3PL clients are companies).
Step 4: Enable 3PL features
Scroll down to the 3PL section and check the box:
- Is 3PL Client -- Check this box. This turns on all the 3PL features for this customer.
Once you check this box, new fields appear:
- Client Code -- A short code for this client. Keep it 2-4 letters. Example: "FF" for FreshFoods. This code is used in reports and labels.
- Default Temperature Zone -- What temperature zone their goods usually need. Options:
- Ambient -- Room temperature (most common)
- Cold -- Refrigerated (2-8 degrees)
- Frozen -- Freezer storage (-18 degrees or below)
- Client Status -- The current state of this client:
- Onboarding -- New client, still setting up
- Active -- Fully operational, receiving and shipping goods
- Suspended -- Temporarily paused (e.g., unpaid bills)
Step 5: Set carrier preferences (optional)
If the client prefers certain shipping carriers, you can set them here:
- Carrier Preferences -- Select one or more carriers the client likes to use (e.g., FedEx, UPS, local courier).
Step 6: Save the client
Click the Save button (Ctrl+S) to save the client record.
TIP
After creating a client, you will want to set up these items next:
- Items & Client Items -- Add the products this client stores
- Rate Card -- Set pricing for this client
- Inventory Policy -- Set rules like FIFO or FEFO
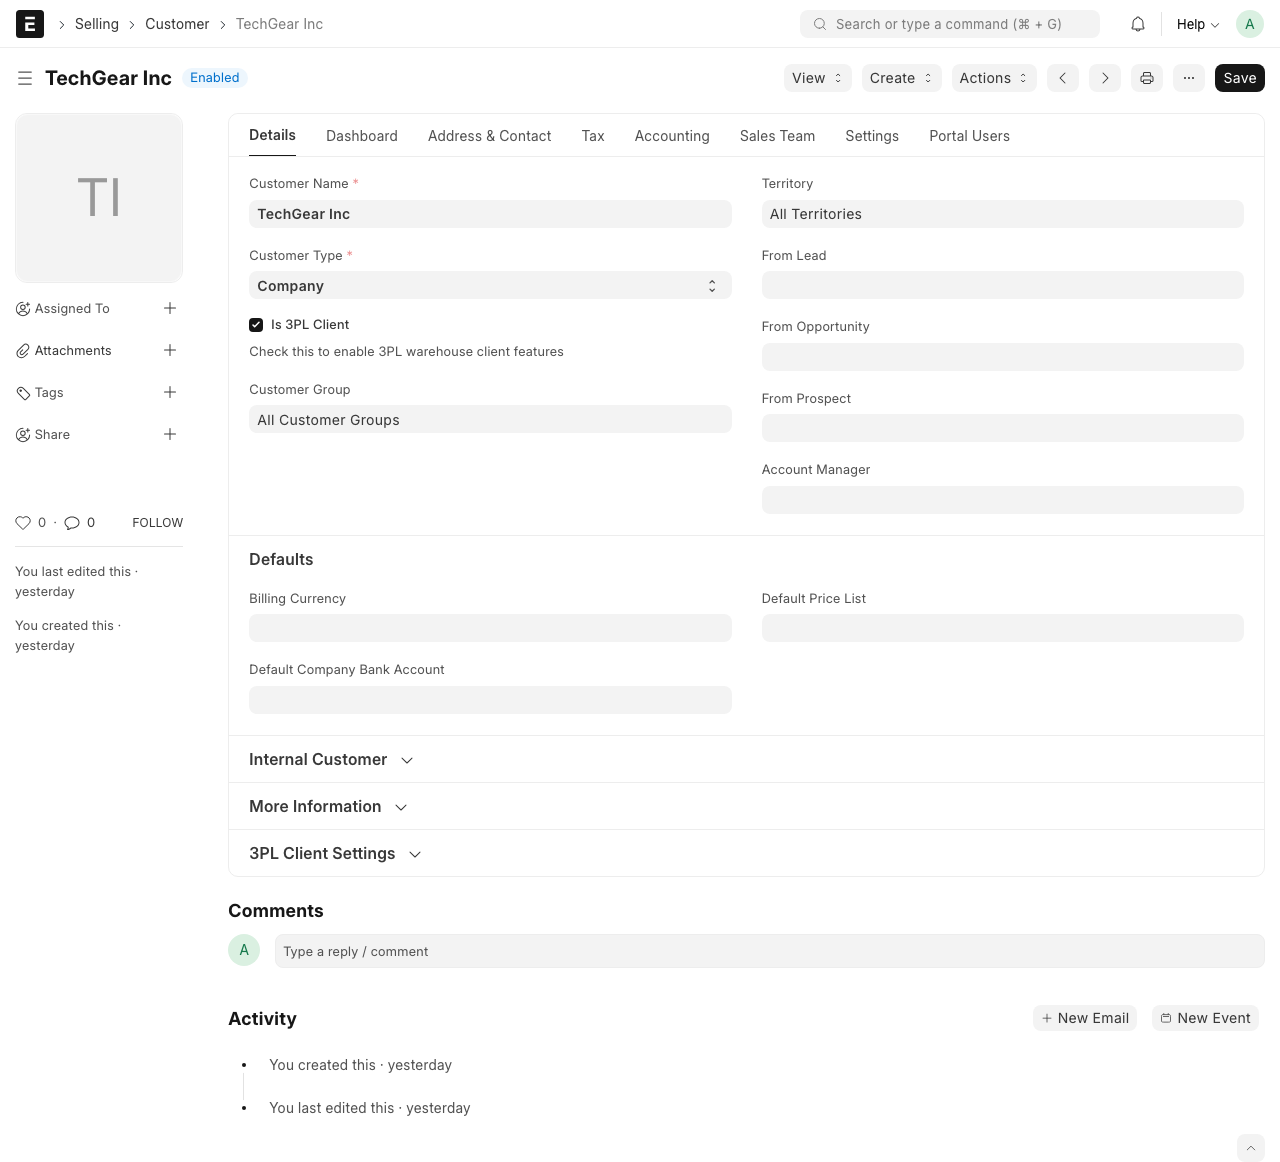
Understanding the Client Form
Active Rate Card
Once you create a Rate Card for this client, it will show here. The active rate card tells the system how much to charge for each activity (receiving, storage, picking, etc.).
Portal User
If the client needs to log in to view their stock or place orders, you can set up a Portal User here. This gives them limited access to only their own data.
What Happens Next?
After creating a client, you can:
- Add items that the client stores in your warehouse
- Create a rate card to set pricing
- Create an ASN when the client sends you a shipment
WARNING
A client must be in Active status before you can create orders or receive goods for them. If the status is "Onboarding" or "Suspended", those features will be blocked.